


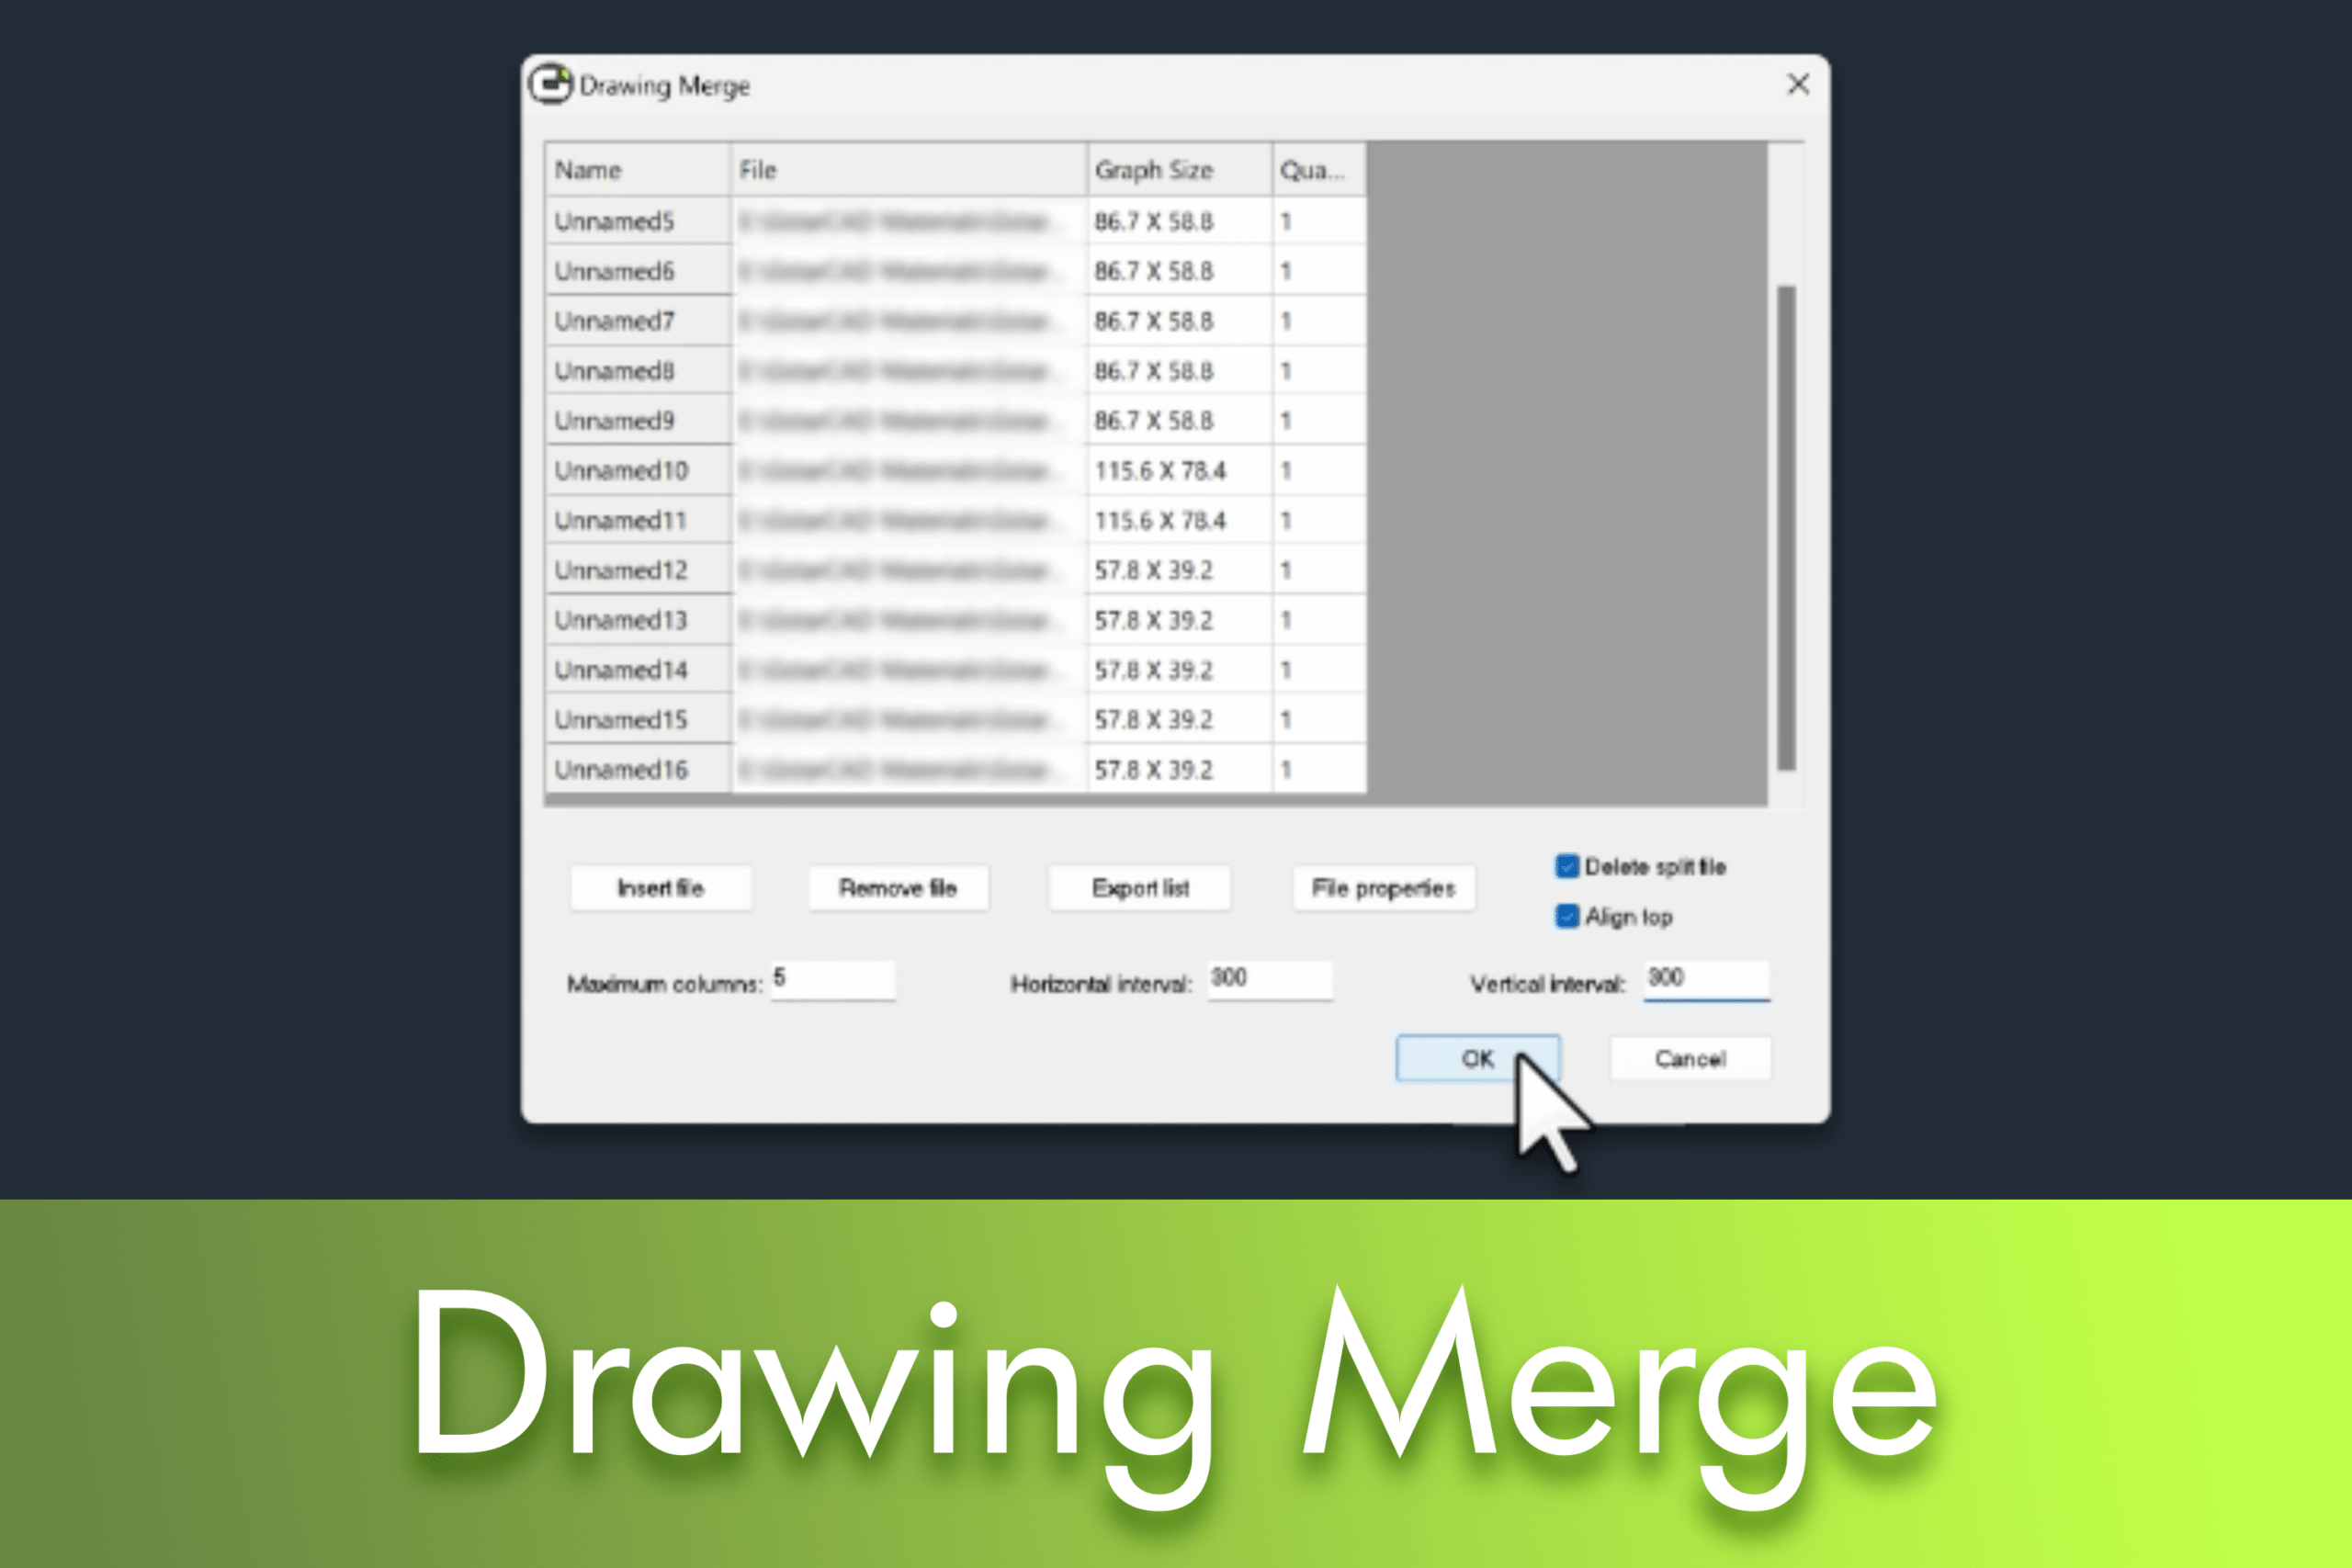
How to Join Drawings in LusoCAD: A Practical Step-by-Step Guide
Managing multiple drawings efficiently is essential for maintaining good document organisation and a smooth workflow. The functionality Drawing Merge Lusocad simplifies this process by allowing batch analysis, splitting, and merging of drawings via Xrefs, offering various layout customisation options. Whether you are consolidating multiple sheets or organising complex project files, this tool provides a robust and flexible solution.
In this guide, you'll learn how to use the Drawing Merge tool from start to finish.
What is the Drawing Merge feature?
The Drawing Merge tool allows you to combine several drawings into a single organised file. It automatically analyses the selected files, detects frames, splits them when necessary and inserts the resulting drawings into the current file via external references (Xrefs). Additional functions - such as viewing entity properties and exporting the list of drawings - help maintain the clarity and structure of the project.
How to access the Drawing Merge tool
You can access the functionality in two ways:
- Introducing
AUTOMERGEon the command line, or - Via the Ribbon menu: Express → Drawing → Drawing Merge
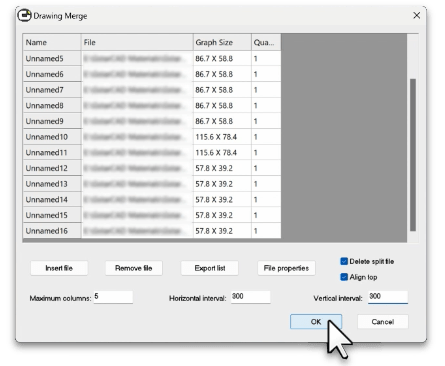
Once you've opened the tool, you'll see the main interface, where you can add, manage and configure drawings.
Step 1: Insert the drawings you want to merge
Click on Insert File to add one or more drawings to the merge list. Each file added appears in the list, allowing you to validate and organise the selection before continuing.
- To see details about a specific file, select it and click on File Properties.
- To remove a file from the list, click Remove File.
These options ensure that only the correct files enter the joining process.
Step 2: (Optional) Export the list of drawings
If you need to keep a record of the files included - useful for documentation or audits - click on Export List. Lusocad will save the list in a file .lst for future reference.
Step 3: Customise the union settings
Before completing the join, Lusocad allows you to adjust the layout and organisation of the final drawing. You can customise:
- Maximum number of columns
- Horizontal range
- Vertical interval
- Alignment method
These options help to ensure that the end result is clean, consistent and visually organised.
Step 4: Automatic analysis and division of drawings
After confirming the settings, the system analyses all the selected files. If any drawings contain various mouldings, Lusocad will automatically split them into separate files. This allows each frame to be treated individually and positioned correctly in the final drawing.
You can also define whether you want the temporary files resulting from the split to be deleted after the merge.
Step 5: Finalise the joint
Once everything is set up, click OK. Lusocad will:
- Analyse the drawings;
- Split files with multiple frames;
- Insert each resulting drawing into the current file using Xrefs;
- Organise everything according to the chosen layout definitions.
The final, unified drawing is ready for editing, annotation or printing.
Final considerations
Lusocad's Drawing Merge tool offers a powerful and flexible way to consolidate project drawings with minimal manual effort. With automatic analysis, customisable layout options and additional file management features, it significantly improves productivity and organisation in technical workflows.
If you frequently work with multi-sheet drawings or large-scale projects, mastering this tool can greatly simplify your day-to-day life.

 English
  Portuguese
  Spanish