


In this guide, we explain the four main ways to insert images into LusoCAD, when to use each one, and how the commands work in practice.
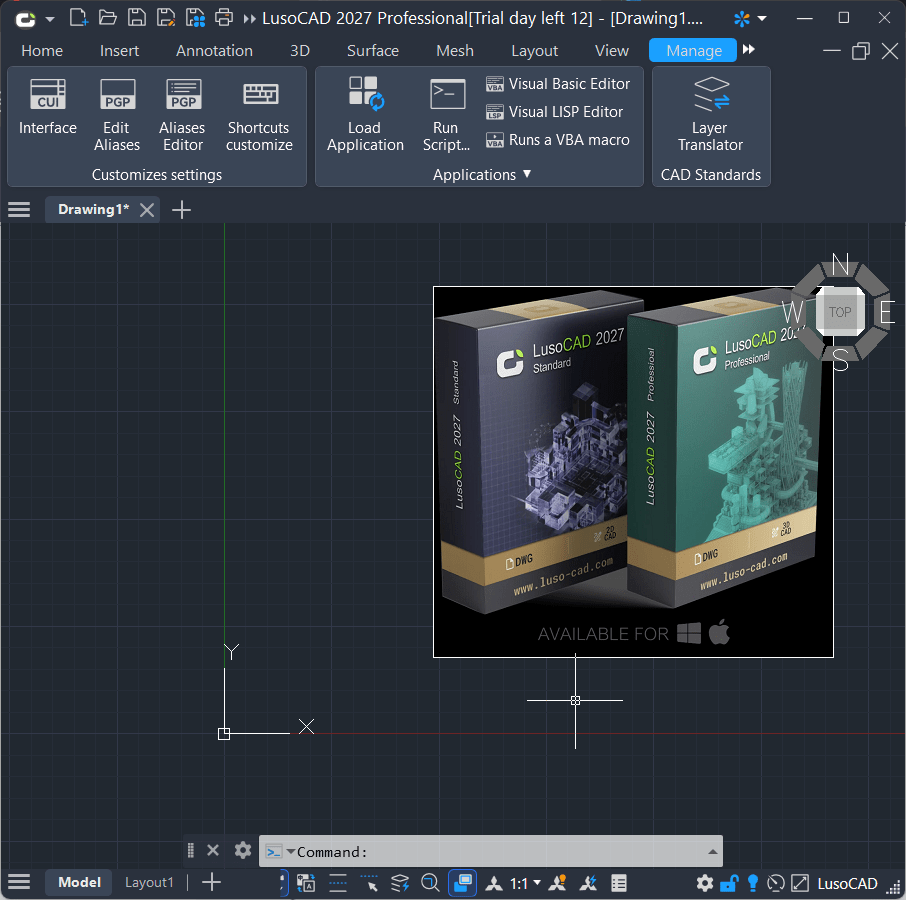
1. Copy and Paste (Clipboard)
It's the quickest way to insert an image.
How to
- Localise the image in File Explorer
- First Ctrl + C
- At LusoCAD, first Ctrl + V
What's happening
The behaviour depends on the image source:
- If you copy the file directly, it may be treated as an external reference.
- If you copy from tools like Snipping Tool or Paint, the image may become embedded.
When to use
- Quick references
- Temporary jobs
- Early stages of the project
It's a practical method, but not the most suitable for structured work.
2. Raster Image Reference
IMAGEATTACH it is the most recommended method for professional work.
How to use the command
Write
IMAGEATTACH

Then:
- Choose the image
- Definition of insertion point, scale and rotation
- Configure the file path type

You can also access it via the tab Insert Raster image.
Advantages
- The image stays on externally, keeping the file light
- Allows for precise control of position and scale
- Integrates well with layers and project organisation
Definição importante: tipo de caminho
Always choose:
- Relative path
This avoids problems when:
- Move the project's pasta
- Share files with colleagues
When to use
- Base plants
- Location maps
- Images that require precise scaling
3. OLE Object (Command: INSERTOBJ)
This method inserts the image directly into the DWG file.
How to use the command
Write
INSERTOBJ
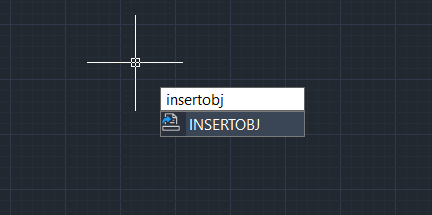
Then choose:
- Create new
- Create from file
What distinguishes it
- The image is fully embedded
- It does not depend on external files
- The DWG becomes standalone
Points to consider
- Increase file size
- Less control compared to raster references
- Less flexible for precise adjustment
When to use
- Logos
- Technical documentation
- Files that need to be shared without external dependencies
4. Arrastar e Largar (Drag and Drop)
A simple and intuitive method.
How to
- Drag the image from File Explorer directly onto the LusoCAD drawing area
What's happening
In most cases, the image is inserted as an external reference, similar to IMAGEATTACH.
When to use
- Rapid tests
- Initial positioning
- Visual inspection
Even though it's fast, it's advisable to adjust the scale afterwards.
Helpful Tips When Working with Images
Control image outline
Utilise the variable:
IMAGEFRAME
Options:
0Hide outline1Show and print the outline2– Shows the outline but doesn't print
The option 2 is usually the most practical.
Adjust the scale correctly
After inserting the image:
- Write
SC
- Select the image
- Use a known measure to adjust the scale
Fundamental for digitised plants.
Improve performance
Heavy images can make drawing slow.
Best practices
- Use JPG or PNG
- Resize images before inserting
- Avoid incorporating when not necessary
Resolve missing images
If the image disappears or appears blank:
- Open
XREF
- Check the file path
- Re-associate the image, if necessary
Quick comparison
| Method | Type of Connection | Best use |
|---|---|---|
| Copy and paste | Variable | Quick references |
| IMAGEATTACH | External reference | Professional work |
| INSERTOBJ | Incorporated | Portable files |
| Drag and drop | External reference | Quick insert |
Final Recommendation
In most cases LusoCAD, the best option is to use IMAGEATTACH with relative paths. Guarantees lighter, organised and trouble-free files when sharing.
The remaining methods are useful in specific situations, but for consistent and professional work, raster image reference remains the safest choice.

 English
  Portuguese
  Spanish