


When working with 2D drawings in LusoCAD, modifying existing geometry is an essential part of the drawing process. Commands such as BREAK allow you to split, adjust, and edit objects with precision, making it easier to insert details or improve layouts. Although the BREAK command may seem simple at first glance, it includes several useful techniques that can significantly improve your workflow when used correctly.
Tips for the BREAK Command in LusoCAD
Sometimes, we want to split an object into two distinct parts at a single point. However, the BREAK command normally requires two points to be defined, which creates a gap between them. So, how can we split an object using just one point?
The BREAK command always requires two points, but LusoCAD also offers a variant called Break at Point, which requires only one point. This can be accessed via the toolbar or the command list panel in more advanced versions.
Nonetheless, the same result can be obtained using the command BREAK standard with some simple techniques.
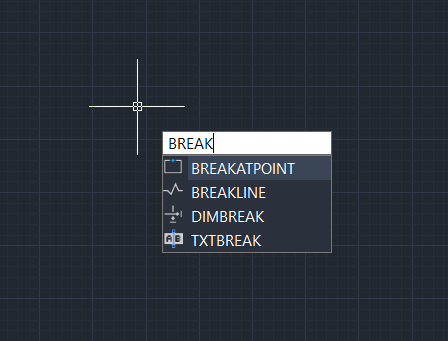
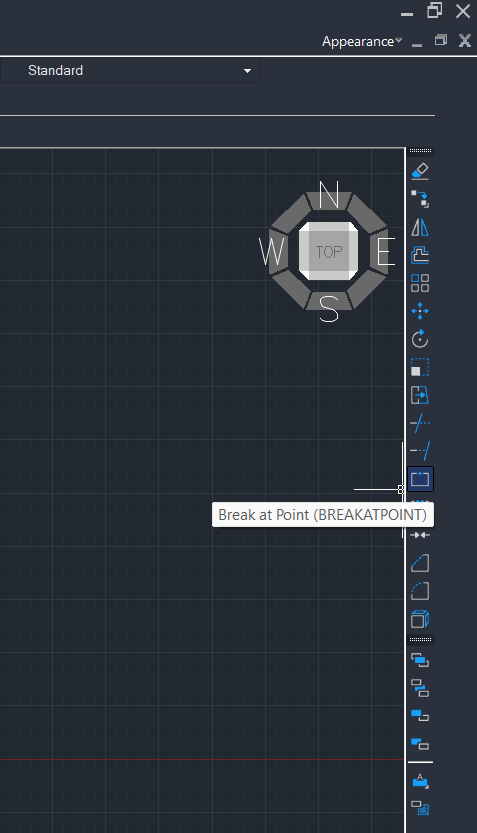
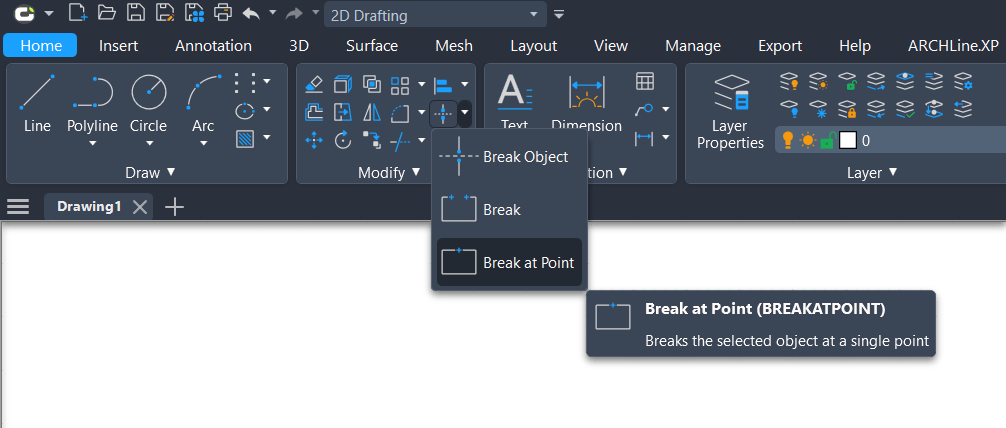
Normal Operation of the BREAK Command
When adding text or inserting blocks on lines, the BREAK command is frequently used to divide objects.
Normally
- It is necessary to specify two points
- This creates a space between these two points
If the selected points are not exactly on the object, they will be automatically projected onto it.
Important Tip: Control the First Point
There is a common situation when using the BREAK command:
- ponto de base. first point
- Next, the second point is requested.
- As soon as this is selected, the command finishes immediately
And what if the first point selected isn't the intended one?
After selecting the object, observe the instructions on the command line. The option will appear:
F
This option allows Redefine the first point..
Steps:
- Write F and before Enter
- Define a new first point
- Continue selecting the second point
How to divide without creating space
To divide an object without creating a visible gap, you can set both points to the same location.
Steps:
- Start the BREAK commandBR)
- First Enter
- Write F and before Enter
- Indicate the division point
- First Enter
- Write
@and before Enter
This method effectively replicates the functionality of the command Break at Point.
Quick Command Sequence
For users accustomed to the command line:
BR → Enter → F → Enter → Select point → Enter → @ → Enter
Limitations of Break at Point
The method Break at Point Works with:
- Lines
- Open polylines
- Arcos
However, It doesn't work with closed objects, like circles.
How to Remove One End of an Object
The BREAK command also allows you to completely remove part of an object.
Works with:
- Lines
- Arcos
- Polylines
- Ellipses
- Splines
- Doughnuts, among others
Main idea:
If the second point for defined beyond the object's end, apart from that, the part up to this point will be completely removed.
How to Divide into Intersections
In many drawings, elements like pipework can cross without connecting. Some CAD systems automatically split these intersection points and create gaps – LusoCAD supports this functionality.
If automatic tools are not used, it is also possible to resort to plugins to divide objects at intersections, although these may not create spaces.
Common trap
The BREAK command can be somewhat confusing because:
- The starting point of selection is automatically considered the first splitting point.
- This point can be difficult to control precisely when selecting objects.
Many users only become aware of this behaviour after carrying out unwanted operations.
Conclusion
Although the command BREAK While it may seem simple, it includes several advanced techniques that can significantly improve how you modify geometry in LusoCAD. By mastering options such as point resetting, gapless division, and intersection handling, you will be able to work more precisely and efficiently on your drawings.

 English
  Portuguese
  Spanish