

Create tables can be an essential skill for anyone who wants to present data clearly and efficiently. In this article, we'll guide you through the basics of creating and customising tables in LusoCAD, based on our recent video tutorial. Whether you're a beginner or looking to brush up on your skills, this guide has what you need.
Introduction: activating the Table command
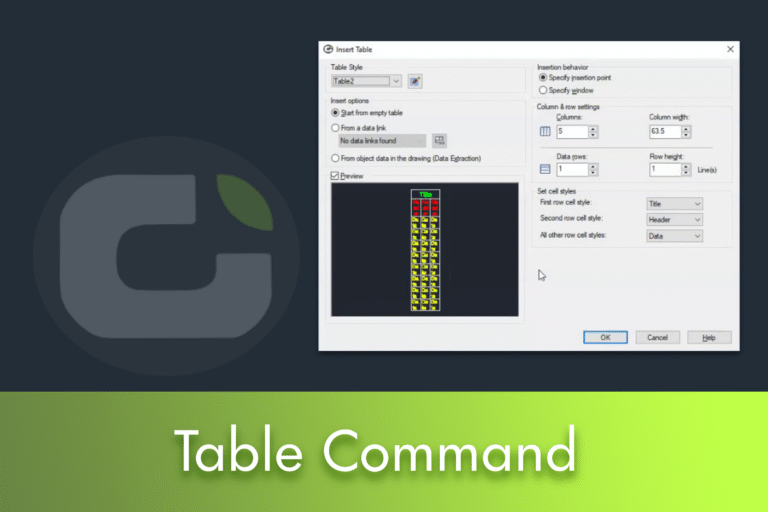
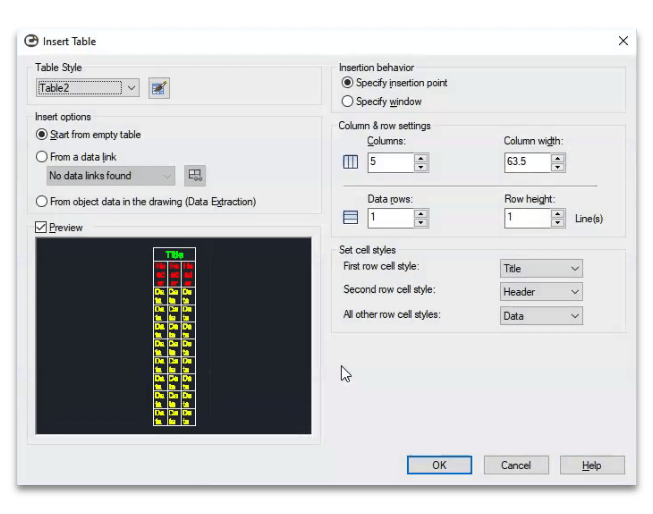
To start creating tables in LusoCAD, you can easily activate the table command. There are two ways to do this: use the Annotations ribbon and select the table command, or type Table directly into the model view to start the table insertion process. As soon as you activate the command, a window pops up allowing you to customise the table according to your needs.
Customise table styles
With the Table command, you can create and customise various table styles. You can choose a table style from the predefined styles or create your own by clicking on the appropriate button. You can define the dimensions, specifying the number and size of columns and rows to fit the content. To start a new style, enter a name for a new table style.
Components of a table
In LusoCAD, tables are made up of three main elements: header, title and data.
- Header: the title of the table.
- Title: a brief description or designation of what the table represents.
- Data: information presented in a structured way.
You can customise elements such as colours and borders in the appropriate menus and tabs.
Configuring and using table styles
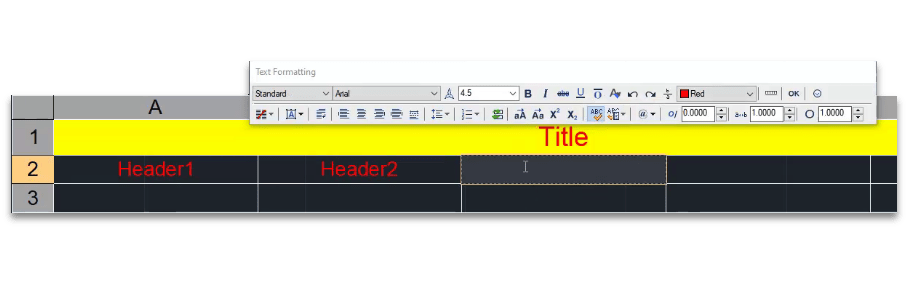
Once you've learnt about the components, here's how to configure and apply styles to the table. Adjust margins, font size and borders before saving the style, for a neat look. Position the table where you want it with the mouse and double-click on any cell to start entering text.
Change the table dimensions
To ensure a good presentation and fit with the content, you can modify the dimensions. Use the options on the floating toolbar to adjust the font size and other formatting settings. Add and remove rows and columns by clicking next to the desired location.
Row and column management
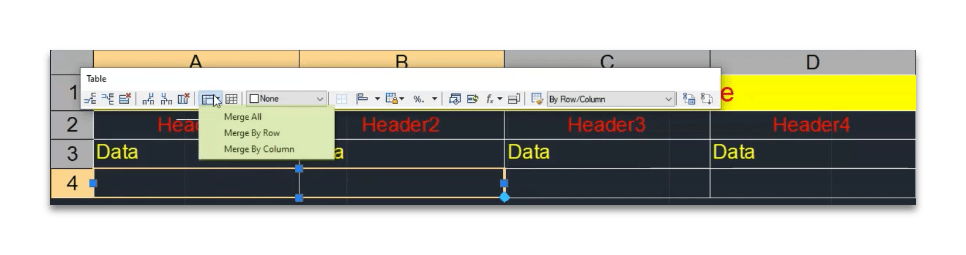
Manipulating rows and columns is key to refining the structure. You can choose positions to add columns to the right or left and, in the case of rows, add them above or below. If necessary, delete rows or columns and combine cells using the specific toolbar to improve the presentation.
Combining cells in Excel
If you also use Excel for your spreadsheets, To combine cells, select the rows or columns you wish to merge and click the merge option to join the selected cells.
Blocking cells against changes
It can be useful to lock certain cells, especially in collaborative work. Locking prevents changes and ensures that critical data remains untouched. Access the cell locking options using the icon provided.

 English
  Portuguese
  Spanish